Overview
Deck is your central hub for managing 3D data and VR experiences. It gives you access to all shared data stored on XR Center, the server running behind the scenes.
From Deck, you can import and prepare your CAD files using CAD Forge, which converts your 3D data into VR-ready assets. Once ready, you organize it into experiences and launch them in SkyReal, the VR application that plugs into the platform.
The three components work together like this:
-
XR Center — the server that stores and manages all your shared 3D data.
-
CAD Forge — the app to import, prepare, and organize your CAD files.
-
SkyReal — the VR application that loads your experiences for immersive review sessions.
Deck also provides a structured way to organize your work. You can create workspaces to group your data and team around a specific project, then break each workspace down into experiences — focused sessions built from a selection of your 3D assets. Both workspaces and experiences come with their own access control, letting you define exactly who can view, edit, or manage each part of your project.
Connection to XR Center
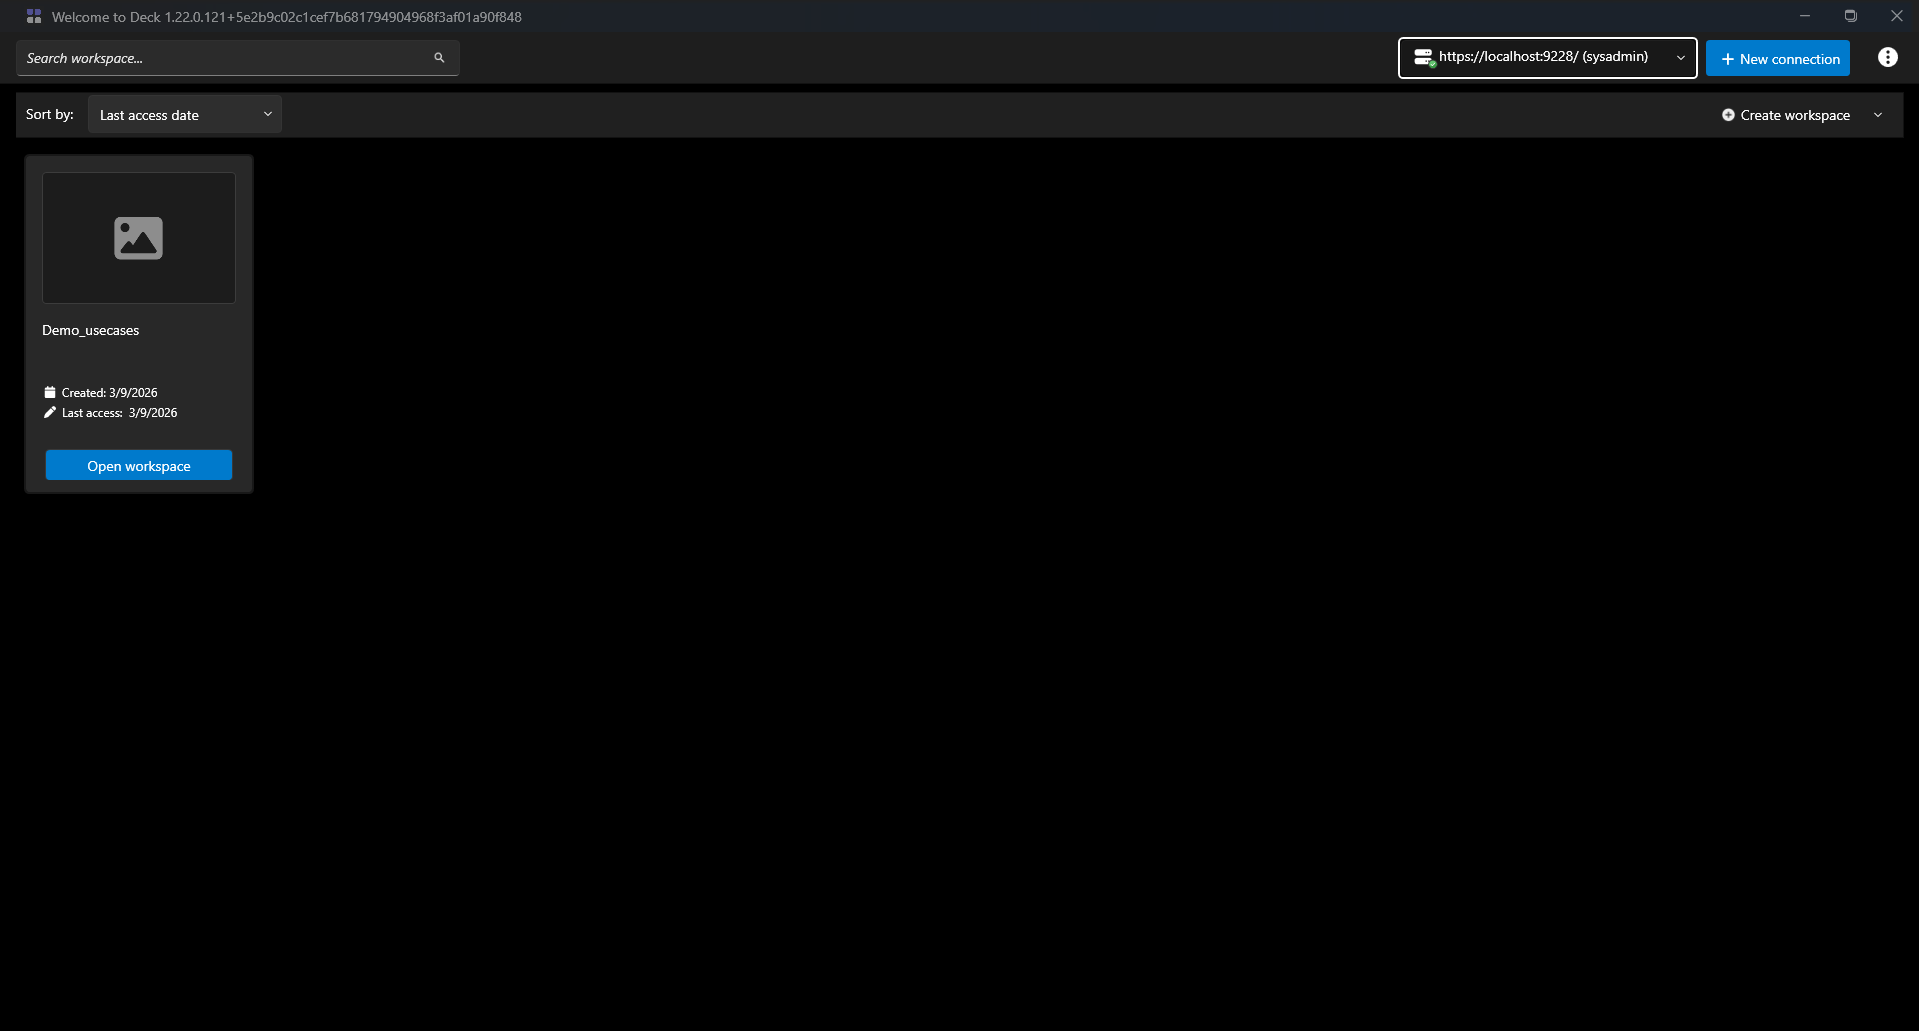
Once you just opened your Deck app, you will have to login connect your Deck to your XR Center. You can connect several XR Center to your Deck by clicking on the New connection button, and switch between them thanks to the combobox next to the New connection button.
Workspaces
A workspace is your top-level project container. A workspace groups all your CAD data, experiences, and team members for a given project.
Each workspace has its own access control — only invited users can see and interact with it.
Create/Import a Workspace
-
Open Deck and connect to XR Center.
-
Click Create Workspace.
-
Fill in a name, description, and choose a thumbnail.
-
Invite your team members that will work within the workspace.
-
Click Create — you're automatically set as the Owner.
💡 You can also import an existing workspace by uploading a ZIP file exported from another XR Center instance.
Manage Your Workspace
Open Workspace Settings to configure your workspace. Here's what you can do:
General Information
Edit the name, description, and thumbnail. Your Workspace GUID is shown here (useful for CLI operations). Don't forget to click Save Changes.
Export
Downloads a ZIP with all your CAD and experiences — useful for backups or migrating to another XR Center.
Clean Up
Frees up storage by removing 3D data that's no longer linked to any experience.
Delete Workspace
Permanently deletes everything in the workspace. ⚠️ This cannot be undone.
Manage Users
Add users or groups and assign them a role (Member, Contributor, or Owner).
Data Prep Settings
Configure how 3D assets are prepared, including whether to keep Unreal Editor assets.
Experiences
An experience is a sub-project inside a workspace. It lets you organize a specific set of CAD assets for a particular use case, team, or review session — each with its own access permissions.
Create an Experience
You have to use CAD Forge to create an experience
Manage an Experience
General Information
Edit the name, description, thumbnail, and banner.
Upload / Download Resources
Download a full folder with all experience data — useful for archiving or sharing.
Manage Users
Add users or groups and assign roles.
Delete Experience
Customize launch parameters for SkyReal VR. Use Generate VR Visualization if your experience map is out of date.
VR Settings
Permanently removes the experience and its settings.
Launch SkyReal VR
Once your experience is ready, launching VR is straightforward:
-
Open the Experience Homepage.
-
Click Play SkyReal VR.
You can also start or join a collaborative session to work in VR with your team.
Open in Unreal Editor
Need to customize your experience further? You can open it directly in Unreal Editor for advanced editing.
-
Open the Experience Homepage.
-
Click Open Unreal Editor.
⚠️ If your VR visualization is out of date after editing, go to Experience Settings → VR Settings and click Generate VR Visualization before launching.
User Roles
Both workspaces and experiences use the same three-level permission system:
|
Role |
What they can do |
|---|---|
|
Member |
View content only — no editing or deleting. |
|
Contributor |
View and edit settings, create and join collaborative VR sessions. |
|
Owner |
Full control — can edit, delete, and manage all users. Assigned automatically on creation. |